


« "Sanding Party" | Main | July 2006: Sheet metal replacement continues »
June 30, 2006
June 2006: Body coming back together
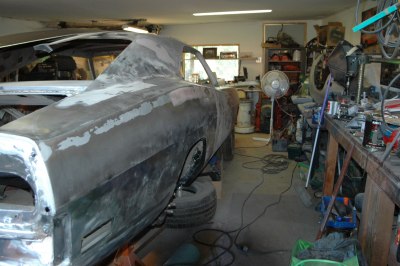
After cutting out everything that was bad, replacing it with metal that was new, and doing rust-prevention treatment on parts, it is tremendously exciting and rewarding to begin reassembling the car. I am especially excited to see the body lines crisp and beautifully aligned, better than they ever have been in the 20+ years I've owned this car.
The welded seam on the newly replaced quarter panel needed to be sealed inside and out with waterproof metal body filler (I learned about how important this was from an outstanding set of how-to DVDs I purchased when my metal wizard friend moved away. I highly recommend the Howard's Backyard Auto Body series for anyone who plans to do any body work, any paint prep, any priming or painting, and isn't sure exactly how to proceed). With a heavy layer of metal filler on the inside, and a solid-but-thin layer on the outside, the quarter panel only required minor traditional filler to smooth out imperfections along the seam. It now feels and looks very good. I can't wait until the day comes to start laying some primer on this thing.
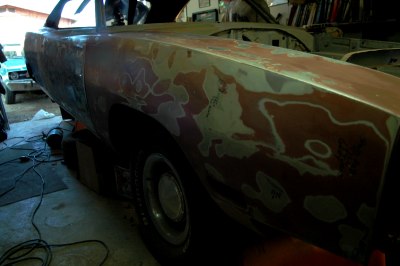
Before installing the passenger fender, I primed all bare metal beneath it with etching primer. The backside of the fender itself was treated with a good coat of Eastwood's rust encapsulator, the same as I used on the floors in the earlier sections. After adjusting all the adjustable portions of the fender-mounting arrangement, the body lines are crisp, the door gap is even, and now only some minor sanding on the fender will be required prior to priming. Eventually, the entire underside of the fender/wheel-well area will be underbody coated, once I know for sure that I'm not taking the fender back off for any reason.
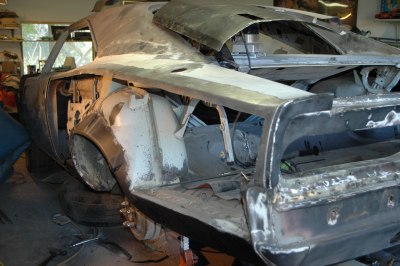
This is the driver's rear quarter opening, all trimmed and prepped for installation of the new quarter, which has also been trimmed to fit the opening. Starting with a technique a friend shared with me of laying the new metal over the old metal and cutting them both at the same time, I improvised (and I think improved) the process by using my Sawzall to make most of the cut, using the cutting wheel on the grinder only to get the sawblades a place to start. This went much smoother, was easier for me to control, and was vastly less expensive than using six or eight cutting wheels as we did on the other side.
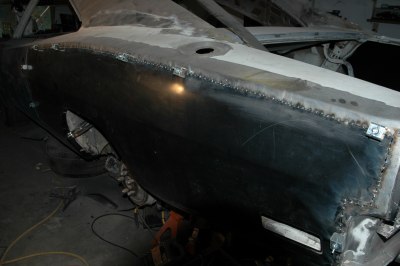
On the driver's side, the welding process was the same as for the passenger side -- slowly tacking the gap between the car and its new piece, keeping heat to a minimum. Pictured here are the special clamps I purchased from Eastwood's, which I mentioned in the write-up on the passenger side but did not have a picture of. These little gems really work, and keep the panels aligned while maintaining a small gap for good Mig penetration.
--------
Posted in 2004-present | RESTORATION | body | sheet-metal replacement